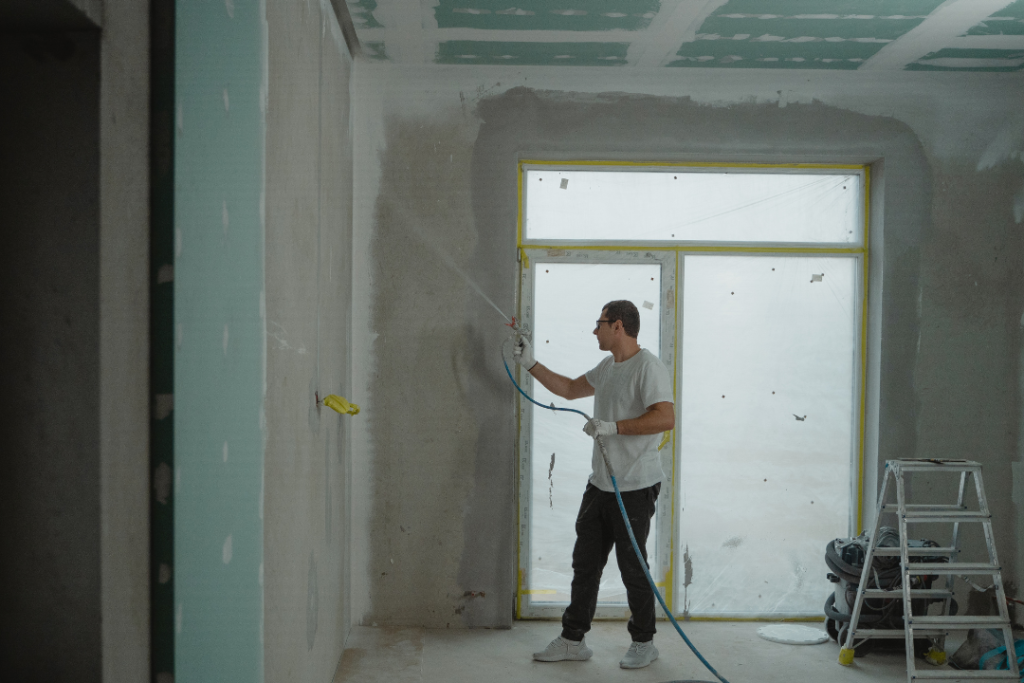
From everyday wear and tear to accidental damage, drywall issues are almost inevitable in any home. Whether it’s a tiny nail hole or significant water damage, knowing how to handle drywall repair can save you time, money, and frustration. In this guide, we’ll cover everything you need to know to fix the most common drywall problems like a pro.
1. Identifying Common Drywall Issues Before you can fix the problem, you need to know what you’re dealing with. Here are some of the most frequent types of drywall damage:
-
Nail Pops: Small circles where nails have pushed out from the studs.
-
Hairline Cracks: Often found near doors and windows due to structural movement.
-
Small Holes: Typically caused by screws, nails, or minor accidents.
-
Large Holes or Dents: From moving furniture or roughhousing.
-
Water Damage: Yellow or brown stains and sagging from leaks.
Each type of damage may require a slightly different repair method, so accurate identification is key.
2. Tools and Materials You’ll Need Having the right tools makes drywall repair much easier. Here’s what you’ll typically need:
-
Joint compound (also known as mud)
-
Putty knife (2-inch and 6-inch recommended)
-
Sanding sponge or sandpaper (120 to 220 grit)
-
Drywall patches or mesh tape
-
Utility knife
-
Primer and paint
-
Dust mask and safety glasses
3. How to Repair Drywall Step-by-Step
Small Holes (under ½ inch)
-
Apply a small amount of joint compound over the hole using a putty knife.
-
Smooth it out and feather the edges.
-
Let it dry, then sand lightly.
-
Prime and paint the area.
Medium Holes (½ inch to 6 inches)
-
Use a pre-made drywall patch or mesh tape.
-
Apply compound over the patch in thin layers.
-
Sand between coats as needed.
-
Finish with primer and paint.
Large Holes (over 6 inches)
-
Cut out a square around the damaged area.
-
Insert a new piece of drywall (cut to fit).
-
Secure it with screws and apply mesh tape around the seams.
-
Layer compound over the patch, allowing each coat to dry before sanding.
-
Finish with primer and matching paint.
Water Damage Repairs
-
Identify and fix the leak first.
-
Remove the damaged section and replace with new drywall.
-
Follow the same process as for large holes.
4. Prepping for Paint After your repair is smooth and dry:
-
Wipe the area clean with a damp cloth to remove dust.
-
Apply a quality primer to prevent flashing (uneven sheen).
-
Once dry, paint to match the existing wall.
Matching paint can be tricky, so it’s wise to keep a sample or note the original color code. Feathering out the new paint can also help blend it seamlessly.
5. When to Call a Professional While many drywall repairs are simple DIY tasks, there are times when calling in a pro makes more sense:
-
Structural damage or persistent cracks.
-
Major water or mold damage.
-
Time constraints or lack of tools.
-
Uneven walls that require expert texturing.
At Elroy Home, we specialize in drywall repair and restoration that’s seamless, safe, and stress-free.
Conclusion Drywall damage doesn’t have to be a headache. With the right tools, a bit of patience, and the steps above, even a novice DIYer can tackle common repairs. And if you’d rather leave it to the pros, Elroy Home is just a call away. Our expert team is here to make your walls look like new—quickly, cleanly, and professionally.

